What's new

Black Friday - a Red 1965 Honda CB160

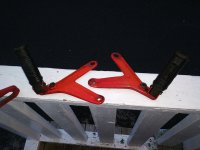
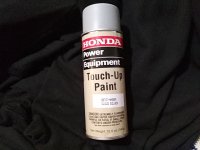
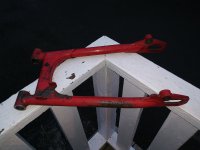
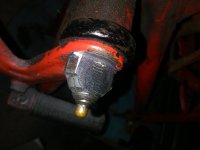
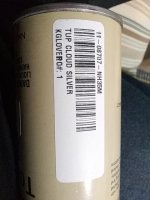
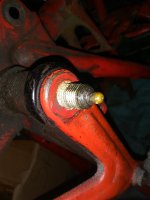
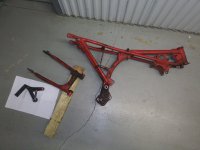
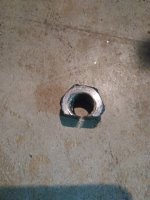
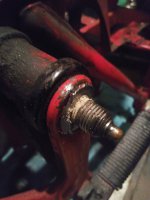
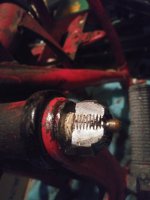
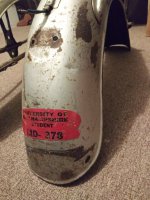
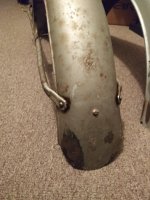
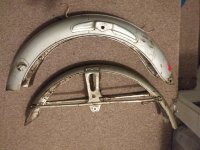
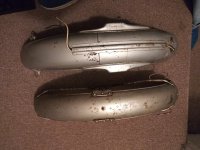
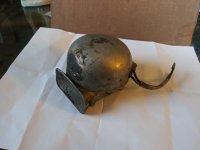
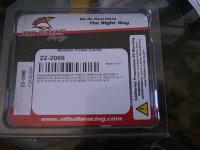
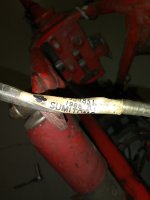
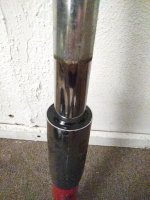
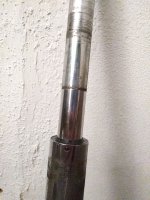
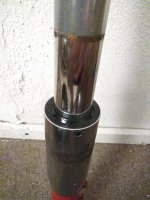
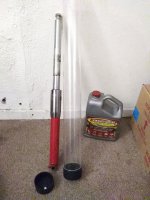
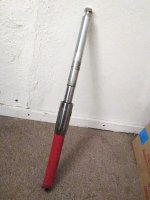
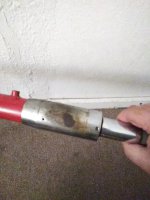
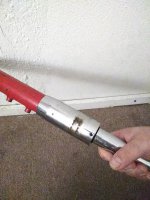
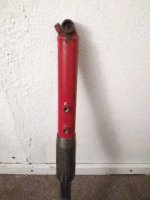
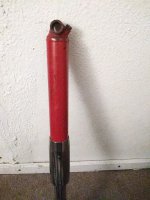
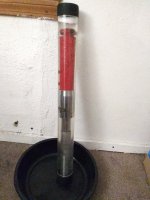
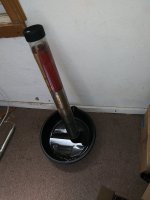
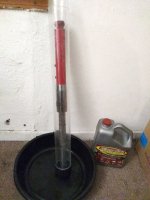
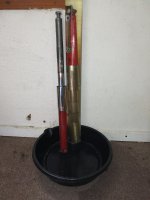
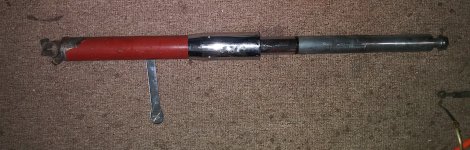
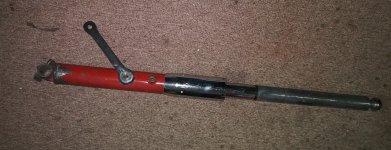
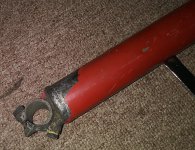
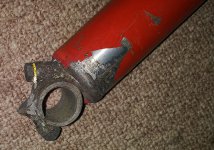
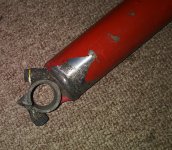
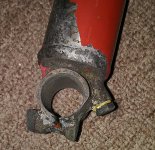
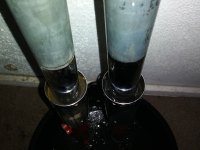
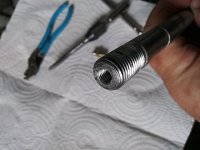
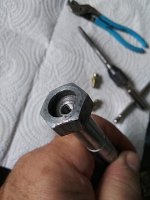
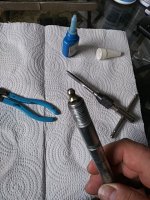
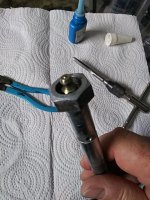
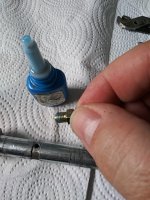
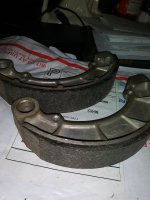
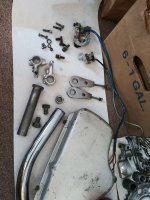
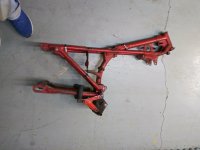
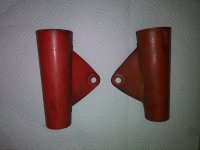
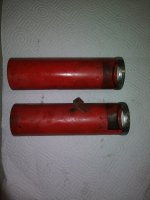
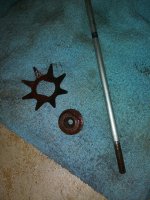
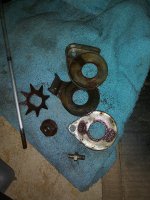
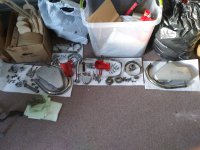
Some more new parts, some dirty & some clean. I was lucky to get that steering damper apart after a few weeks with Seafoam Deep Creep.
 

Attachments

  • 20211219_142401.jpg
    20211219_142401.jpg
    484.2 KB · Views: 3
  • 20211218_173935.jpg
    20211218_173935.jpg
    826.2 KB · Views: 4
  • 20211219_142349.jpg
    20211219_142349.jpg
    835 KB · Views: 4
  • 20220104_133105.jpg
    20220104_133105.jpg
    362.5 KB · Views: 8
  • 20211224_163443.jpg
    20211224_163443.jpg
    585.6 KB · Views: 6
  • 20211224_163617.jpg
    20211224_163617.jpg
    660.7 KB · Views: 4
  • 20211224_162138.jpg
    20211224_162138.jpg
    1.6 MB · Views: 4
  • 20211224_162633.jpg
    20211224_162633.jpg
    1.5 MB · Views: 3
  • 20211219_142449.jpg
    20211219_142449.jpg
    869.7 KB · Views: 4
  • 20211219_142439.jpg
    20211219_142439.jpg
    1.1 MB · Views: 4
More progress, had a hell of a time loosening the swingarm pivot, so with a new, sharp file and 20 minutes...
I picked up a nice used pivot bolt to reassemble with, it'll get useful grease zerks first. I picked up some Honda Cloud Silver, then decided the fenders should stay the way they are.
 

Attachments

  • 20220317_184543.jpg
    20220317_184543.jpg
    568.3 KB · Views: 5
  • IMG_20220203_192739.jpg
    IMG_20220203_192739.jpg
    36 KB · Views: 5
  • 20220317_184551.jpg
    20220317_184551.jpg
    494.1 KB · Views: 5
  • 20220307_132517.jpg
    20220307_132517.jpg
    515 KB · Views: 7
  • IMG_20220203_192615.jpg
    IMG_20220203_192615.jpg
    40.5 KB · Views: 8
  • 20220307_133106.jpg
    20220307_133106.jpg
    661.7 KB · Views: 8
  • 20220307_135240.jpg
    20220307_135240.jpg
    657 KB · Views: 8
  • 20220307_132907.jpg
    20220307_132907.jpg
    495.9 KB · Views: 5
  • 20220307_132941.jpg
    20220307_132941.jpg
    363.7 KB · Views: 5
  • 20220307_132822.jpg
    20220307_132822.jpg
    365.1 KB · Views: 9
Fenders, $15 inop horn from eBay that was just misadjusted, the tell-tale-tag on the wiring harness its really a 65, and tapered roller steering bearings whether it needs them or not.
 

Attachments

  • 20220406_173757.jpg
    20220406_173757.jpg
    2 MB · Views: 6
  • 20220406_173815.jpg
    20220406_173815.jpg
    2 MB · Views: 5
  • 20211216_161127.jpg
    20211216_161127.jpg
    595.8 KB · Views: 6
  • 20211216_161301.jpg
    20211216_161301.jpg
    522 KB · Views: 6
  • 20211216_161231.jpg
    20211216_161231.jpg
    747 KB · Views: 8
  • 20211216_161212.jpg
    20211216_161212.jpg
    707 KB · Views: 6
  • 20211224_150338.jpg
    20211224_150338.jpg
    253.9 KB · Views: 6
  • IMG_20211223_125433.jpg
    IMG_20211223_125433.jpg
    37.1 KB · Views: 7
  • 20220104_123441.jpg
    20220104_123441.jpg
    515.4 KB · Views: 8
  • 20211224_150350.jpg
    20211224_150350.jpg
    293 KB · Views: 9
That's about as far as I got, before I bought my Royal Enfield Interceptor then work picked back up. I've been cleaning up the forks, but I'm not banking on being able to get them apart. Seals are good so I'll probably drain them and fill with kerosene to clean them out before choosing a fork oil weight to fill them with.

To soak each fork whole I picked up a plastic tube with silicone end caps marketed at the sports collectibles crowd for displaying baseball bats, fits great and doesn't use too much Evaporust.
 

Attachments

  • IMG_20220822_200252.jpg
    IMG_20220822_200252.jpg
    207.1 KB · Views: 9
  • IMG_20220822_200245.jpg
    IMG_20220822_200245.jpg
    169.9 KB · Views: 7
  • IMG_20220822_200304.jpg
    IMG_20220822_200304.jpg
    174.8 KB · Views: 6
  • IMG_20220822_200428-1.jpg
    IMG_20220822_200428-1.jpg
    164.2 KB · Views: 7
  • IMG_20220822_200504.jpg
    IMG_20220822_200504.jpg
    169.7 KB · Views: 8
  • IMG_20220822_200428.jpg
    IMG_20220822_200428.jpg
    164.2 KB · Views: 9
  • IMG_20220822_200349.jpg
    IMG_20220822_200349.jpg
    147.3 KB · Views: 8
  • IMG_20220822_200356.jpg
    IMG_20220822_200356.jpg
    187.8 KB · Views: 5
  • IMG_20220822_200335.jpg
    IMG_20220822_200335.jpg
    121.8 KB · Views: 4
  • IMG_20220822_200342.jpg
    IMG_20220822_200342.jpg
    161.7 KB · Views: 6
And the other that's still soaking
 

Attachments

  • IMG_20220822_200819.jpg
    IMG_20220822_200819.jpg
    139.3 KB · Views: 9
  • 20220827_145712.jpg
    20220827_145712.jpg
    947.7 KB · Views: 7
  • IMG_20220822_200559.jpg
    IMG_20220822_200559.jpg
    131.5 KB · Views: 7
  • 20220827_152140.jpg
    20220827_152140.jpg
    660 KB · Views: 8
I guess I just flooded this thread with pics and not much explanation. Just parts cleaning so far. Some new consumables purchased but the only parts I've replaced are two broken spokes and the swingarm pivot bolt that I filed the nut off of. I bought cables and steering bearings, a speedometer drive seal, new cable adjusters for the handlebar perches and some NOS brake shoe sets.

Today I took the 2nd of the two assembled forks out of its Evaporust soak, gave it a good soap & water rinse & dried it. Took a few photos and popped the dust seal out, stood both forks back up & filled the chrome seal tubes with fresh Evaporust again, I'll let that stuff do it's job for a while. I still think the seals are in good shape and I'm not gonna fight to get these forks apart. I'll just drain & fill with kerosene for a while, then drain & fill with fork oil and call them done. At that point I'll give them a coat of CorrosionX. There are some obvious spots where the original paint has flaked off, I'm tempted to repaint but if I paint one thing I'll have to paint everything, so no. I'll have to find a new clamp bolt and new drain bolts with crush washers.
 

Attachments

  • 20220905_165904.jpg
    20220905_165904.jpg
    637.7 KB · Views: 9
  • 20220905_165840.jpg
    20220905_165840.jpg
    625.5 KB · Views: 4
  • 20220905_165927.jpg
    20220905_165927.jpg
    902.5 KB · Views: 4
  • 20220905_165942.jpg
    20220905_165942.jpg
    504.4 KB · Views: 4
  • 20220905_165947.jpg
    20220905_165947.jpg
    720.1 KB · Views: 4
  • 20220905_165955.jpg
    20220905_165955.jpg
    465.5 KB · Views: 3
  • 20220905_170124.jpg
    20220905_170124.jpg
    499.1 KB · Views: 3
Some free time today to make a little progress, I tapped 1/4-28 threads into both ends of the swingarm pivot (I'd previously drilled them out to 7/32") cleaned out the chips with brake cleaner then verified clean with cotton swabs before adding grease zerks with blue loctite.

This is one of the few modifications I'm making to this bike.
 

Attachments

  • IMG_20221003_154054.jpg
    IMG_20221003_154054.jpg
    34.8 KB · Views: 9
  • IMG_20221003_154111.jpg
    IMG_20221003_154111.jpg
    36.1 KB · Views: 7
  • IMG_20221003_154504.jpg
    IMG_20221003_154504.jpg
    66.2 KB · Views: 7
  • IMG_20221003_154455.jpg
    IMG_20221003_154455.jpg
    62.3 KB · Views: 7
  • IMG_20221003_154316.jpg
    IMG_20221003_154316.jpg
    54.1 KB · Views: 7
Actually I bought most if not all of the parts I'll need for this bike in 2021 or early 2022. I had no idea how much money I'd save.
 
Top Bottom Back Refresh