What's new

Beta 390 RR-S Fuel Injection Issue - A 'Little Thing' with a High-Level Solution

Well Zoomer you read it, then I changed it. Today after riding a lot yesterday sitting on my ass and edit a posting several times seems appropriate :-)

It was just warm of cold yesterday so riding hard to breathing hard with arm pump was a repeating affair. I sat with wife to watch something last night and kept falling asleep and drooling on myself.
 
After more study, I'm almost certain a 4.0 EXPanding pack will be a direct swap with a 3.0 assembly.
I believe that was stated somewhere by Rekluse stuff in one of the videos or articles I've seen.

If you don't have a 3.0, and want either a 3.0 or 4.0, pay close attention to the nuance at the end of this post as to how you might configure your bike.
I'm still running the clutch Honda sold me, top to bottom. If I change to a Rekluse, an EXP4.0 seems to be the way to go based on Rekluse's position, but I still want to see if they got it right. They've probably been running the 4 hard for over a year, but I figure any major problems will be revealed during summer riding season this year.

There is also a supposed improvement to clutch pack oil flow and float via modernish-angular fiber pads on the EXP and plates, but this might just be 'Certs with Retsin' marketing fluff. The assumption is that in an oiled interface a 'rolling' bearing has a lower static friction coefficient and can thus reverse directions with less hysteresis. That's a good assumption, but as to how that actually plays out in an oil-film interface with energy pulses (vibration) may be weirder that we can know, and what we will actually have is like a software improvement that isn't, and all that is being added is more clicks to do the same thing.
Agreed, which is why I'm hesitant to jump in at this time. One thing seems clear, though. From a manufacturing perspective, the EXP4 looks like it's more complicated to produce than the 3, and I doubt they'd make that much of a change without benefits. If it was just about marketing and gear churn, changing up the geometry of the EXP3 pads or something similar would've been easier.

Most important for interchangeability, 4.0 into an otherwise 3.0 clutch is the EXPandable pack engages the driving part of the clutch, the basket, thus the geometry will remain the same and if the thick is the same it will interchange. By the photos, EXP 4.0 is the same height (thickness) as 3.0, leaving the only Rekluse being willing to sell EXP 4.0 separate from a whole kit, and how expensive the upgrade will be.
Rekluse lists the EXP4.0 as being available as a separate part, so I assume it's available for purchase solo. That also fits with it being a drop-in replacement option for an EXP3.0.

SMART CHANGE
There is natural resistance to change. Even the thought of leaving the world of the manual-only motorcycle clutch adds to resistance. Going beyond that and losing the manual clutch and foot brake is just insanity to most. I'm a poster boy of resistance to change. Now I'm in the unenviable position of advocating the alien and 99.9% don't speak alien.
I'm still a relatively new rider, so my natural inclination is to have hand controls like my bicycles, which fits with a Rekluse setup. Your later explanation of some of the benefits of a LHRB lever makes perfect sense to me.

Would you miss a manual clutch? As long as your motor is 'punchy' enough to be able to loft the front wheel from a standing start you don't need a manual clutch. The top-level guys may not agree, but how many of you are top level, really?
My bike is fully capable of doing that, even when I don't want it to. : )

Like bicycles, the reality of my riding doesn't approach that of a pro, making it silly for me to approach bike selection and setup like a pro pretty stupid, in my opinion.

Look up 'amazing dirt bike fall and survival video. Schofield pass near Crested Butte' on Youtube.
Lol - yeah, I saw the Schofield Kid's video when he posted it. Damn lucky guy.

I've read critiques of what happened, and many fault the auto-clutch. While it played a role, I don't see it as the clear-cut cause of the loss of control. Chopping the throttle would've disengaged the clutch before reaching the edge, applying the brakes would've stopped the bike before catching air, a better suspension may have prevented so much deflection off the rocks, better skills (of less fatigue) may have kept him on track, etc.
 
Well Zoomer you read it, then I changed it. Today after riding a lot yesterday sitting on my ass and edit a posting several times seems appropriate :-)

It was just warm of cold yesterday so riding hard to breathing hard with arm pump was a repeating affair. I sat with wife to watch something last night and kept falling asleep and drooling on myself.
I just re-read it. I like both versions. : )

I'll have to give it some thought. I don't know anyone near me with a Rekluse, so a test ride is unlikely. The only significant downside I see is the expense and added complexity. Rekluse has to have hammered on the EXP4 pretty hard before release, and I can afford the upgrade. A friend of mine is a Rekluse dealer, so I may see what it'll cost to do it.

I have a Honda CRF450L with a cable clutch. Do you have a recommendation for a LHRB setup?
 
TEST RIDE RESULTS
Summary: Adore my bike. I still have 'the problem', whatever is the first cause, but it's currently happening infrequently enough as to not be considered a problem worth bother with.

The universe is rife with irony, so right after leaving the trucks the FIRST thing that happened on the first shut-off of throttle after accelerating was the idle bypass pintle dropped, there was extreme engine braking, and I decided to leave the throttle butterfly shut and just roll to a dead engine stop. I cycled the ignition key and proceeded on while musing about having a frustrating day.

I didn't! Instead, chalk yesterday up to 'great ride' status for me and Gordy. I had only two more episodes, one where I let it die, and another when I kept going wherein the FI sorted itself out and idle returned.

Putting a GoPro remote mic wrapped all up over the airbox to hear the intake was a fail. The mic saturated right away, ruining the sound on some videos, but thankfully the remote mic didn't work on most videos, though it was always
plugged in.
GoPro Mic Over Air Filter.jpg


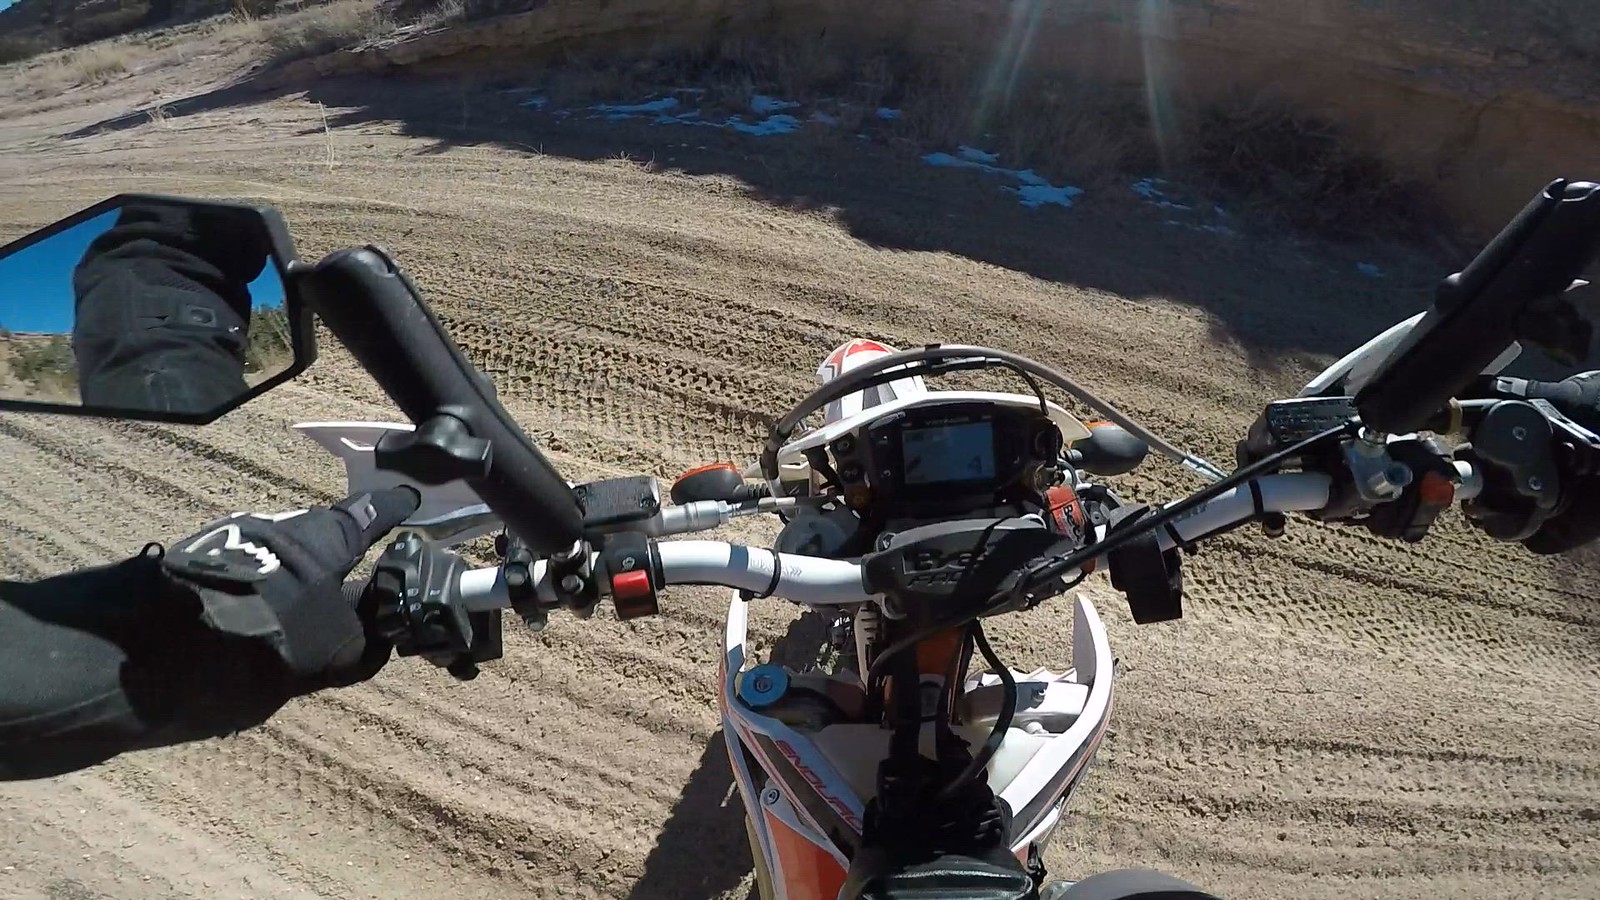
It was cold, with snow and sometimes frozen ground in places in shadow. Here's me ignoring Gordy's cautions about about frozen vehicle-made grooves. After sizing the hill up and getting a run at it, all was well until I turned across the shaded area and could feel the sand and grooves in the sand was frozen. Uh oh! It got skittery and I lost the precious momentum. Getting turned around was a little exciting.


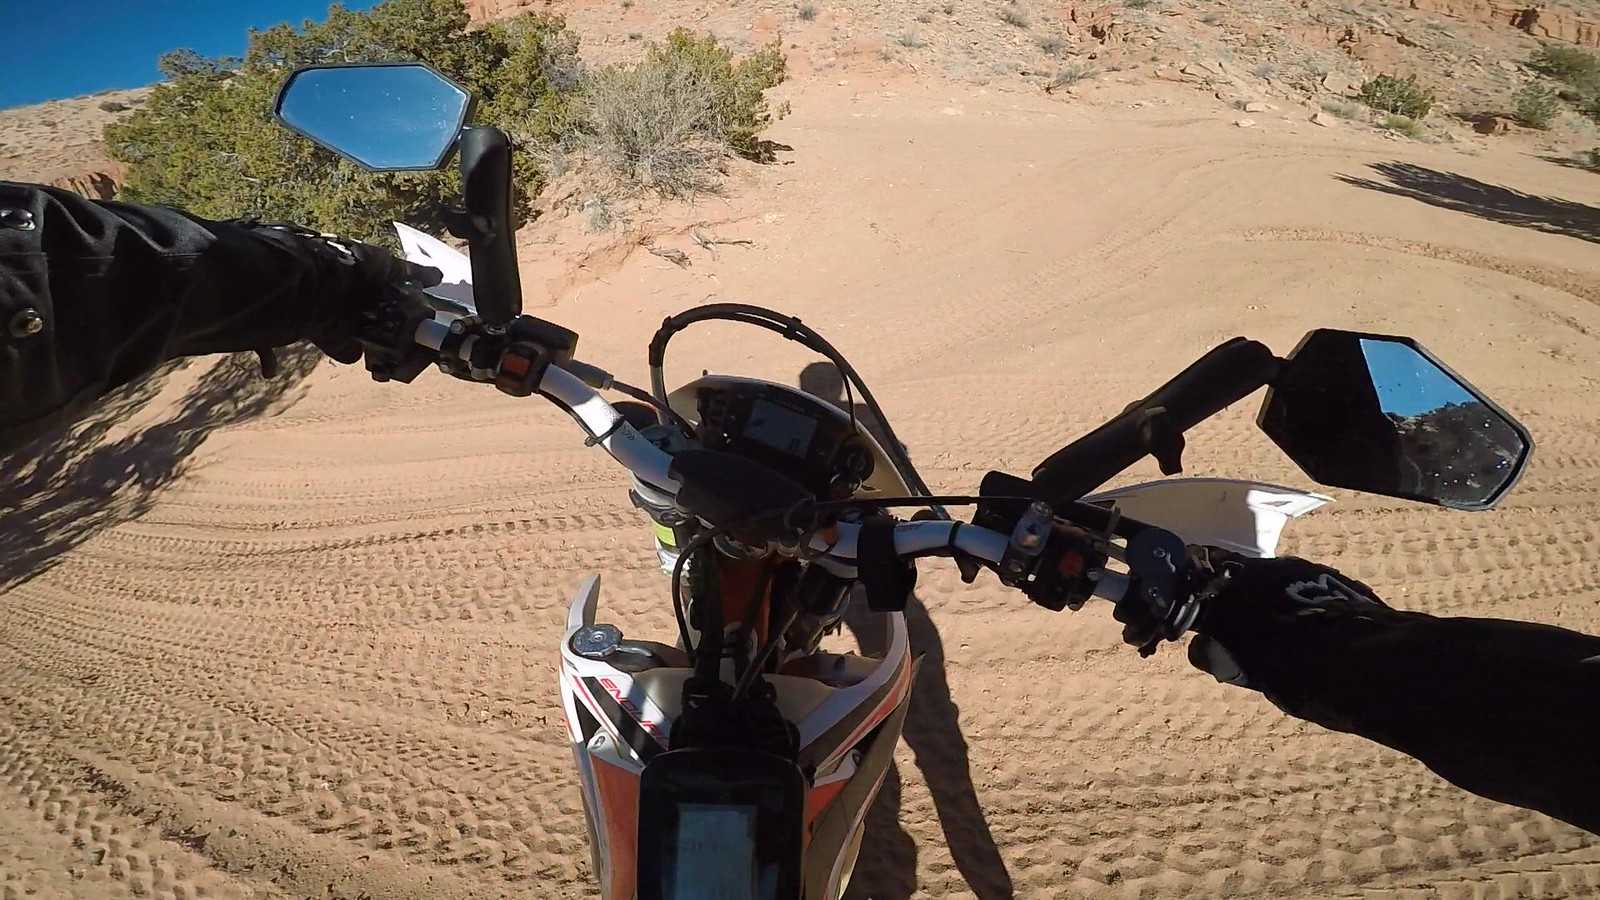
I was really digging my bike all day. Punchy, powerful, stable, and precise. Yummy! Gordy got the courage to ride my 'weird bike' and I appreciate the comment on 'smoothest, plushest, bike like that I've ever ridden.' I got to ride his KTM 300, which was a hoot, what with full knobby rear tire and that great top-end power, was blasting up the dry sand hills no issue whereas if I slowed up bit it was mostly spin.

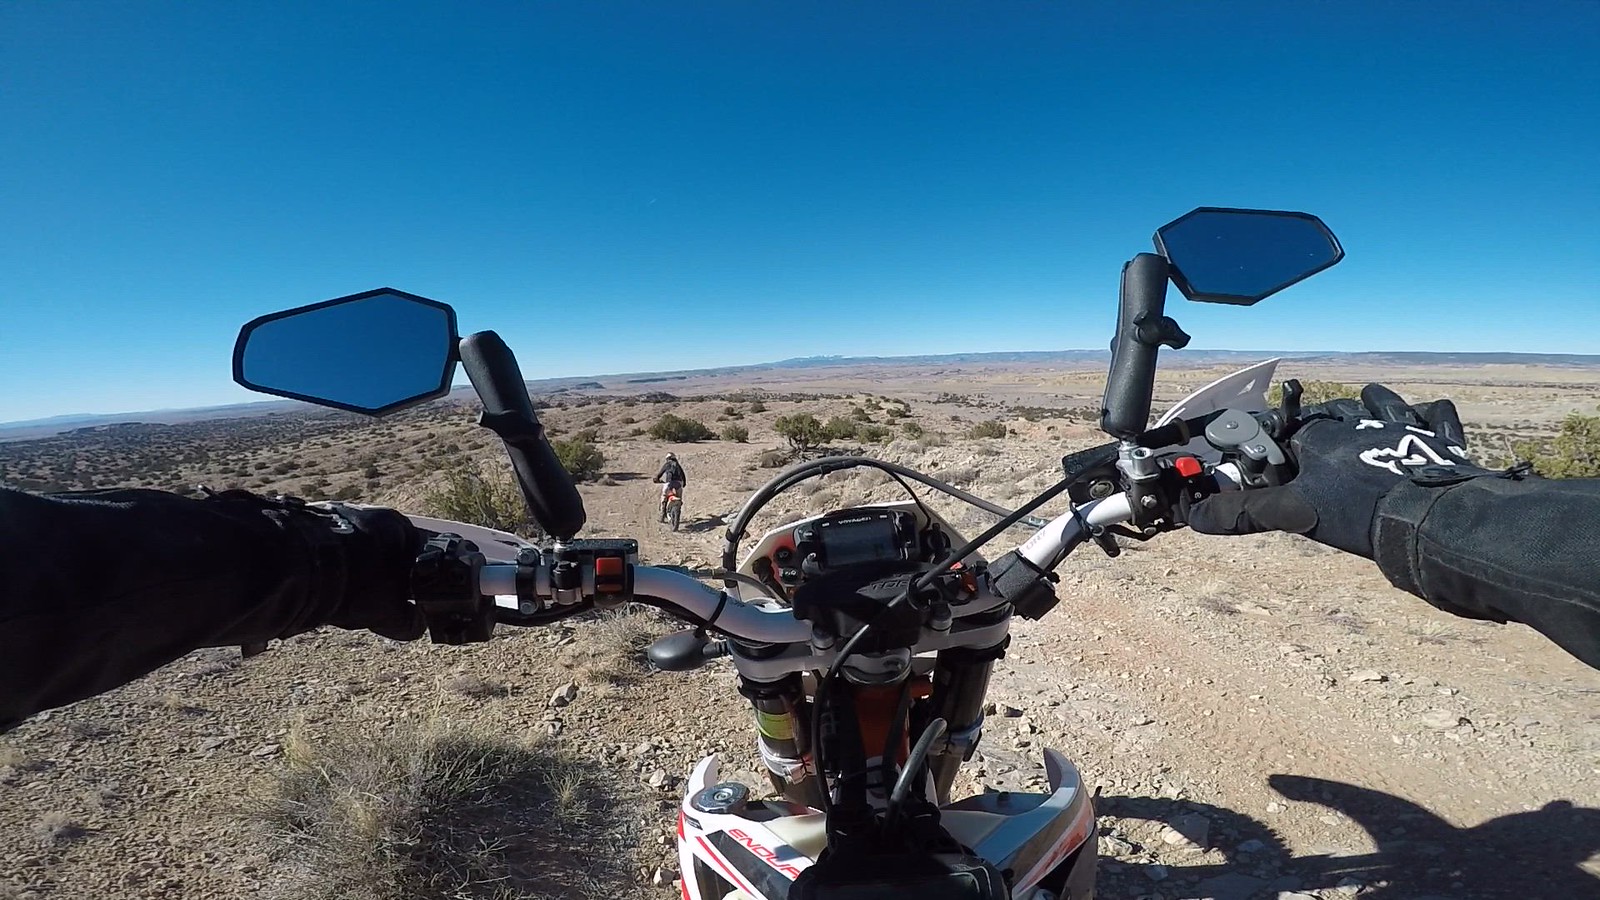
Gordy saw this little trail and went up. I tried to clean it but got a touch off line:


We rode all kinds of conditions for hours. It was cold, but perfect for pushing hard with a comfortable level of sweat. Things got faster and bolder as the day went on. Thankfully no crashes. Came close once when aborting a very steep climb when I ignored Gordo's warning that being in shade, the ruts were probably frozen. Well they were. When I entered the shade it got steeper and frozen and just past the left turn I lost traction in the rut. That made for a sphincter puckering turnaround:
1705506839123.png
 
I just re-read it. I like both versions. : )

I'll have to give it some thought. I don't know anyone near me with a Rekluse, so a test ride is unlikely. The only significant downside I see is the expense and added complexity. Rekluse has to have hammered on the EXP4 pretty hard before release, and I can afford the upgrade. A friend of mine is a Rekluse dealer, so I may see what it'll cost to do it.

I have a Honda CRF450L with a cable clutch. Do you have a recommendation for a LHRB setup?
For LHRB a Brembo 10mm clutch master cylinder (it's DOT fluid). Look on eBay for used one from a KTM. Almost all of them are 10mm diameter. A few are 9mm or 9.5mm, I can't remember. The Beta has the smaller diameter one because the Nissin rear caliper is small. Sometimes you can find deals on new ones, but avoid 'the new for $260'-type listings. I've paid $75 for used ones, and $125 for new ones. Custom Spiegler line. All that detail you will find in my 701 thread. Same setup, just different length of line to fit your 650L. you figure that out by running some 1/2" poly line.

Test ride? Not likely. Maybe you can hear how good the auto clutch modulates the clutch. better than I can manually and I'm quite good at that. You can hear how the Rekluse Radius CX EXP 3.0 behaves in the above videos on the Beta. I don't like the Honda clutch in the 450L so would see Rekluse as a big step up. Sad the 450L uses a cable clutch. That means adjusting clearance is harder that with a setscrew on the Recluse slave cylinder. Toss the whole cable and lever and just use something at the very end at the case lever to set clearance. On my KLR 685 I used a short section of cable brazed into a doodad, and set clearance with the M8 thread and nut of a stock KLR cable. If you stick with the cable the clearance will vary with temperature and other variables. Not good.
 
Last edited:
So I've been following this thread for a while now. I've had the same problem on my 23' 390 rr. Several trips to the dealer, and a new ecu later the problem persisted. I like you scoffed at the spark plug suggestion as my bike was brand new when the problem started. I pulled it this weekend and the gap was 0.8mm. Adjusted to 0.53 and the bike has been running absolutely perfect for the last 3 hours of riding. After 160 hours of riding the bike finally works as it should
 
Amazing. Glad I didn't do the ECU swap yet.

The universe being weirder than we can know, however, I'll listen to your solution, kwood.

How a touch lower dielectric resistance from 0.010" less plug gap (0.031" plug to 0.021") could work its way back upstream to result in random pintle drop is, well, inscrutable. But I'll pull the plug, measure the gap, change it, ride the bike, and report back. I wonder if risking a new plug might mess up the experiment?

I'll check to see if Beta uses a resistor plug.

That will have to wait a bit as I am at present not so far from Antarctica.
 
Last edited:
I found the M12 X 1.25 X 26.5mm long thread NGK LKAR8A-9 is likely standard on the Beta RR-S. This is a resistor plug (the R in the plug part number). A resistor is inside the ceramic core, in line with the spark tip. Resistors were traditionally spec'd to reduce radio-frequency interference. What, on the AM band?
 
Last edited:
There was a period of time when KTM sold a batch of 500s with bad NGK plugs, outwardly they appeared fine, they sparked when they were laid onto the cyl but but had problems firing in the cyl. Most of the affected bikes quit and wouldn't start but some displayed weird running symptoms. Replacing the spark plug solved it. Normally NGKs are good quality but it just goes to show shit happens.
 
Went for another ride this morning and the bike rode excellent again. I also repaired a bundle of grounds under the seat this weekend but rode in between repairing those and correcting spark plug gap. I doubt it but the ecu may have needed time to reset itself. Some of the smaller wires by my hand only had 3-4 strands crimped. I also cut open the grey and black bundle below and soldered those as well, the crimped was better there though. *edit should mention I had to alter Beta's spark plug tool to remove plug as it was scratching the cylinder head, 2 min on bench grinder took care of it.
20240128_160100.jpg


20240130_154057.jpg
 
Given the report of the batch of flaky plugs I'll replace mine. I'd bet on something goofy with the internal resistor. A non-resistor plug is about as simple as it gets. I wonder if there is a non-resistor version of that plug available?

Viewing the compressed strands and likely also resistance welded 2023 crimp up close I was impressed. That's a solid way to do a crimp, being solid copper. Soaking in some flux and soldering would be straightforward with that type of crimp.

Unsure what style of crimps are in a 2019 harness. I've long put off pulling the harness out to solder all the crimps. I kept thinking that a bad connection was not 'it' and that seemed to prove out when optimizing other things got rid of almost all of pintle drop.

The plug swap will be next. It would be so awesome if that finally does it!
 
Last edited:
With proper wire, terminals, and tools, there's no excuse for poor crimps, especially from a manufacturer. The main advantage of crimping is that it's an easy way to ensure repeatably good connections, without the skill involved with good soldering.

I look to the marine world as the standard for automotive termination. If it meets or exceeds their standards, it should be fine on the road or trail.
 
Last edited:
My riding buddy has a 19' 390 re, He had major charging issues when he first got the bike. His mechanic went through the harness, and it's been fine ever since. I've seen pictures online of some of the earlier crimps and I believe they were in the same spot has the later bikes.
 
With proper wire, terminals, and tools, there's no excuse for poor crimps, especially from a manufacturer. The main advantage of crimping is that it's an easy way to ensure repeatably good connections, without the skill involved with good soldering.

I look to the marine world as the standard for automotive termination. If it meets or exceeds their standards, it should be fine on the road or trail.
most of the places and/or equipment I worked on for the last 45 years we were prohibited from making soldered wiring repairs except as a temp fix when not other options were possible at the time. We only used solder in certain situations, primarily for attaching connectors/components or wires to a component and of course on circuit cards but little else. I see it allot in the vehicle and motorcycle repair industry but in the ones where reliability is a major concern soldered wire-2-wire connections are all but non existent.

That thin copper type crimp is at the cheap end of the quality spectrum for those type crimps but the manufacturers use them because they can stick whatever combination of wires into one that they need. Had they stuck some glue impregnated heat shrink over that glob of wires it'd have lasted allot better. The better quality crimps come as a pre-tinned tiny tube but aren't as forgiving when it comes to a 3 or 4:1 crimp combination.
 
Amazon is so rife with counterfeit electrical components that I rarely order through them; definitely not crimp terminals. That Marine How-To page has examples of bogus terminals that look appropriate at first, but don't meet any standards. Poor metal, less metal, poor quality insulation, incorrect sizing; any corner that can be cut to save a penny, with the end user left with a troublesome system or worse, a fire or explosion. High amp battery disconnect switches and circuit breakers are common.

1706990035186.png


I also prefer using marine grade, tinned copper wire since it's designed for use in high temp, corrosive environments where oil resistance is important. I'm willing to pay a little more for supplies from known-good sources to keep this crap out of my life.

The few bikes I've owned are from the Japanese, and their wiring has been what I expect of a modern vehicle. I can't help but think how much improved the reliability and reputation of some makes would be improved it they'd set the bar higher. People have been at this long enough to know how to do it well, so it's a conscious decision when a manufacturer chooses to cheap out.

I'll stop dragging MB's thread OT and wish him a successful hunt for that fault.
 
I'm a free exchange of ideas guy so nothing is OT. Having Big Brother looking over my shoulder and condescendingly censoring me without explanation is why I left that other place.

Euro motorcycle wiring and connector standards aren't top notch, with crimps and grounds more open to oxidization and/or galvanic corrosion than with the Japanese bikes, automotive in general, and modern marine.

After I try the plug swap, the opening up of the harness would be my next to do, finding first an accessible junction to inspect and maybe modify.

Regarding charging issues, I assumed my 2019 RR-S had the problem of the RR and earlier RR-S. I bought the upgrade harness, then found out my RR-S was post-fix and had not use or place for the factory fix harness.

I didn't have charging issues. I fit a Lithium battery early for less weight and higher voltage. Just for grins I fit a voltage regulator that looks the same but has better electronics. Between the two it's been overkill with consistent higher voltage and brisk starter motor rpm.

I've watched many a solar install video where 'clean and dry' electrical connections and crimps are consistently preached - but never justified. I understand 'clean', but 'dry' is an invitation to eventual building of oxides which are not conductive. With modern vehicles with sophisticated sealed connectors that's not a problem. With the more open Euro connectors there can be problems, which us why during setup I grease every connector and wick oil into the terminal crimps.

Soldering doesn't fit mass production except wave soldering of boards, and the typical advice is to avoid it. Wise for those with poor soldering skills. That's not me. Been soldering, brazing, and welding so for half a century. My best environment-proof junctions are soldered copper, cleaning off of flux, then a slathering on silicone 1 adhesive, followed by slipping over heat shrink tubing to then squoze out the excess adhesive during heat shrink. Rub the excess over the whole junction.

When I do low- current crimp connections I grease the wires before inserting them into the connector. The grease filled junction repels water and reduces building of oxides at the microscopic points if contact. Grease won't last forever, but it greatly delays onset of non-conductive oxides.

I grease all frame ground connectors and fasteners. Same reasoning. On the Beta I oiled as many wire-crimp connections as I can get to. Oil eventually runs out and gasses off, but the up-front protection helps.

To each his own reasoning and standard processes of course. Any job done well, however it is done, will be less likely to cause problems.

Kind of fun to peck out these words while our ship plows through the increasingly rough seas of the Furious Fifties east of Cape Horn....
 
Last edited:
I've added a dab of dielectric grease to wire before performing what I believe is a cold formed crimp, followed by sealing it up with marine grade shrink tube. I know that the crimping process should prevent water intrusion through the end of the terminal, but I also know that it's the mostly likely spot for a problem to occur.

For those that didn't delve into the depths of RC's article, an example of a good crimp and a marginally good one. Even though he makes the case for using a good tool for the best results, there's still an opportunity for water intrusion over time. I should do a pull test to see if adding grease to a good crimp process negatively impacts the final result.

A Tale of Two Crimps
1707060986365.png

"OK I did one last experiment. This time I made a crimp with my Klein crimper/strippers and one with DIY-grade heat shrink crimp tool. I then cut the crimped terminals open with my Dremel tool and took a peak.

The crimp on the left was made with the DIY-HST heat shrink crimp tool. This an inexpensive DIY quality crimp tool, and the crimp on the right was made with a Klein dimple-crimper, a very mediocre crimp tool, but also the type many boat owners use to make crimped connections.

I now understand why many boaters think air or water can get into a crimp and corrode it. If you look at he crimp on the right, made with the dimple crimper, you can still see strands of copper wire. The crimp on the left is far superior and has in fact cold worked or cold formed, into a near-solid mass. While it is technically not a solid mass of copper there is almost no room for moisture or air to get in between the strands of wire and begin wicking.

I think the photo speaks for its self and shows why a decent quality crimping tool is worth the money."
 
We've just been denied harbor access by the Port Stanley, Falkland Islands harbor master due to winds of up to 50 knots.

So we'll likely round the Falklands and head back to Argentina. Nertz, no penguins for us.

Posts like this are for me a needed and most welcome distraction! Photos won't upload for some reason, but no problem with text.

Loving the deep experience on display! The high density crimp on the left looks nice.

Another test would be to soak in salt water than hang above the waterline in toilet tank for days or weeks. Then later cut across the crimp to check for extent of copper oxide. Wicking of electrolytes up crimp strands is something I have concerns about and why I favor making solid via solder despite copper-lead-tin or lead-free eutectic solders creating galvanic couples.
 
Last edited:
We've just been denied harbor access by the Port Stanley, Falkland Islands harbor master due to winds of up to 50 knots.

So we'll likely round the Falklands and head back to Argentina. Nertz, no penguins for us.

Posts like this are for me a needed and most welcome distraction!
Say hello to Milei for us!
 
Top Bottom Back Refresh